
Table of Contents
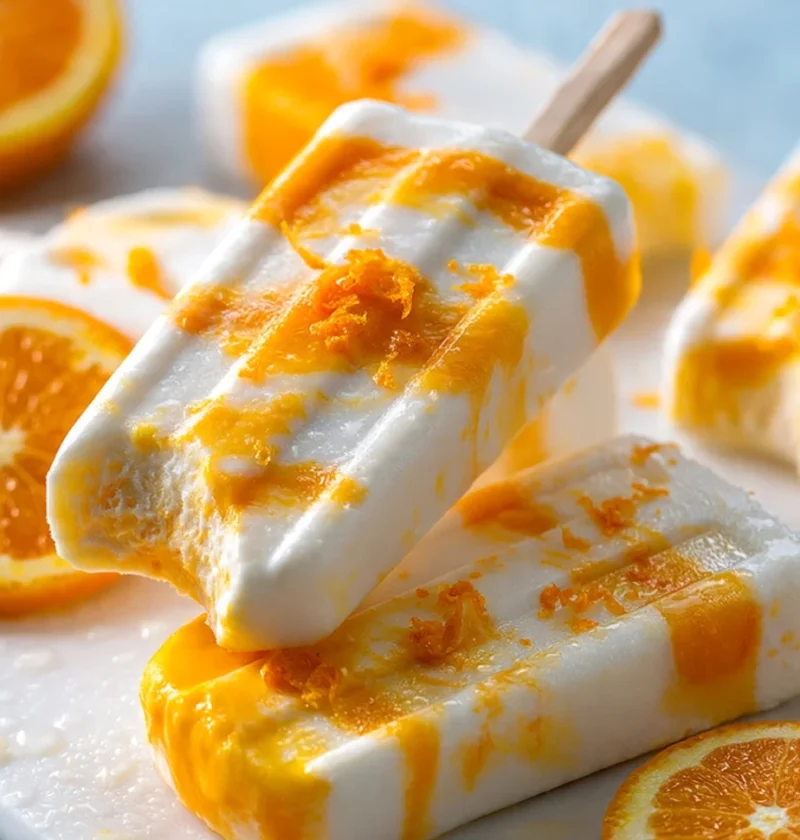
As summer approaches, nothing quite beats the heat like a creamy and refreshing treat. Introducing Easy Orange Creamsicles a nostalgic dessert that evokes memories of sun-soaked afternoons and childhood joys. These delightful frozen orange treats combine the lusciousness of creamy citrus with the refreshing tang of fresh oranges. Whether you’re a kid at heart or a parent looking for an easy and healthy frozen snack for your children, this homemade orange popsicle recipe is a must-try! With just a handful of ingredients, you can whip up a batch of these creamy fruit ice pops that are perfect for hot days.
Let’s dive into the recipe, and discover the joy of making your own frozen treats! You’ll be surprised at how simple it is to recreate this classic summertime delicacy right in your kitchen, ensuring that you enjoy the freshest flavors without any artificial additives. The combination of orange and cream not only tastes delicious but also provides a delightful contrast of textures, making each bite a sweet and tangy experience.
Ingredients
Here’s what you’ll need to create these delicious Easy Orange Creamsicles. Grouped logically, the ingredients are straightforward and easily accessible. You can learn more about this topic. The vibrant flavor of fresh oranges is the star here, complemented by a few simple ingredients to enhance the overall taste. The balance between sweetness and creaminess is what makes these creamsicles a crowd-pleaser.
- For the Orange Base:
- 2 cups fresh orange juice (about 6-8 oranges) For the best flavor, choose juicy, ripe oranges that are firm and heavy. The sweetness of the oranges will significantly influence the final taste. When selecting oranges, look for ones with a bright, glossy skin, as this often indicates juiciness. Navel oranges are a great option for juicing due to their sweetness and low acidity, which makes them perfect for a refreshing treat.
- 1/2 cup granulated sugar (or honey for a healthier option) Adjust the sugar based on the sweetness of your oranges; if they are very sweet, you may want to reduce the amount. Honey not only adds sweetness but also a slight floral note that can elevate the flavor profile. If you’re using honey, remember that it can take a little longer to dissolve, so mix thoroughly.
- 1 tablespoon lemon juice (for added zest) This brightens the orange flavor; use fresh lemon juice for the best taste. The acidity from the lemon juice helps balance the sweetness and enhances the overall citrus experience, adding a refreshing zing that complements the creaminess perfectly.
- 1 cup heavy cream (or coconut cream for a dairy-free version) Choose high-quality heavy cream for a rich flavor. Coconut cream will give a tropical twist! For the coconut version, ensure you refrigerate the coconut milk overnight so the cream separates easily. This will provide a luxurious texture that pairs wonderfully with the orange base, creating a silky mouthfeel that’s irresistible.
- 1/2 teaspoon vanilla extract Use pure vanilla extract for the best flavor; this adds a subtle depth to the creamsicles. The warmth of vanilla rounds out the flavors beautifully, making each bite even more enjoyable and enhancing the overall aromatic experience of the popsicle.
Special Notes: For the freshest flavor, use organic oranges if possible. Organic fruits tend to have a more robust flavor profile and may contain fewer pesticides, ensuring that you’re enjoying a cleaner, more vibrant taste. You can adjust the sweetness by adding more or less sugar, depending on your taste preference. If you want to make a healthier version, consider using a natural sweetener like agave or stevia, which are great alternatives for those watching their sugar intake. Additionally, consider experimenting with blood oranges for a unique twist on the traditional orange creamsicle flavor.
Their vibrant color and slightly different taste will add an interesting dimension to your frozen treats. Check out our related guide for more tips on selecting the best ingredients. Finally, make sure all your ingredients are at room temperature before you start mixing, as this will help them combine more effectively.
Steps / Instructions
Making Easy Orange Creamsicles is a fun and simple process. Follow these clear steps to create your frozen delights and enjoy a refreshing treat that’s perfect for any hot day. Make sure to have all your ingredients ready before you start to streamline the process and ensure a smooth preparation:
Juice the Oranges: Start by juicing the fresh oranges until you have 2 cups of juice. Use a citrus juicer or reamer for maximum efficiency. Strain the juice through a fine mesh sieve to remove pulp if you prefer a smoother texture, but keep some pulp for added texture if desired. This not only enhances the visual appeal but also contributes to the overall mouthfeel of the creamsicles, allowing you to enjoy the essence of fresh oranges in every bite.
Mix the Orange Base: In a large mixing bowl, combine the freshly squeezed orange juice, granulated sugar, and lemon juice. Whisk until the sugar is fully dissolved, which should take about 1-2 minutes. This step is crucial for a smooth consistency. Ensure that there are no granules left undissolved, as this could lead to a gritty texture in your final product. You can also taste the mixture at this stage and adjust sweetness if necessary.
Prepare the Creamy Mixture: In another bowl, combine the heavy cream and vanilla extract. Whisk until the mixture is well blended and slightly thickened. You can use an electric mixer or a hand whisk; ensure you don’t over-whip, as the cream should remain pourable. If you find that the cream is too thick, you can add a splash of milk to reach your desired consistency, aiming for a creamy but still fluid texture.
Combine the Mixtures: Gently fold the creamy mixture into the orange base. Stir until fully combined, ensuring the creaminess is well integrated with the orange flavor. Use a spatula to achieve a uniform blend, which will give you those delightful creamy swirls. Take care to do this gently to avoid deflating the cream too much, which ensures a luscious texture that is key to the success of your creamsicles.
Fill the Molds: Carefully pour the combined mixture into popsicle molds, leaving a little space at the top for expansion as they freeze. Make sure to pour slowly to avoid bubbles. If bubbles do form, tap the molds gently on the countertop to release them. This will help achieve a cleaner, smoother popsicle shape once frozen.
Add Sticks: Insert popsicle sticks into the molds, ensuring they are centered. You can use wooden sticks or reusable silicone popsicle sticks; just make sure they fit snugly. If your molds do not come with built-in sticks, you can cover them with aluminum foil and poke the sticks through to keep them upright while freezing. This is an essential step to ensure that your popsicles hold their shape and are easy to remove later.
Freeze: Place the molds in the freezer and allow them to set for at least 4-6 hours, or until completely frozen. For best results, leave them overnight. Note that freezing times may vary based on your freezer’s temperature settings. Check after 4 hours to see if they are ready; they should feel firm to the touch. If possible, avoid opening the freezer frequently during this time to maintain a consistent temperature.
Release the Popsicles: To remove the creamsicles from the molds, run warm water over the outside of the molds for a few seconds, then gently pull on the sticks to release the popsicles. If they stick, you can let them sit at room temperature for a minute to soften slightly. Always be gentle to avoid breaking the popsicles; if you’re using silicone molds, gently flex them to help release the creamsicles.
Tips & Tricks
To ensure your Easy Orange Creamsicles turn out perfectly every time, here are some practical tips and tricks: These insights will help you achieve the best texture and flavor, ensuring your frozen treats are a hit with family and friends. Keep these tips in mind as you prepare your creamsicles:
- Storage: Store any leftovers in an airtight container in the freezer. They can last up to two weeks if properly sealed, but they are best enjoyed fresh. To maintain optimal flavor and texture, avoid refreezing after thawing. Consider wrapping individual popsicles in plastic wrap for added protection against freezer burn. You can also use vacuum-sealed bags for longer storage.
- Make-Ahead: These creamsicles can be made a week in advance, making them a great option for summer gatherings or kids’ parties. This allows you to prepare ahead of time and have a refreshing treat ready to go! You can even label the containers with the date made for easy tracking. This way, you can plan your dessert options for events without last-minute rushes.
- Common Mistakes: Avoid overfilling the molds, as the mixture will expand when freezing. Also, ensure the popsicles are fully frozen before trying to remove them to avoid a mushy texture. If they seem too soft, give them more time in the freezer. A good test is to gently press on the popsicle; if it holds its shape, it’s ready to be removed. Additionally, be cautious not to mix too vigorously when combining the mixtures to retain the fluffy texture of the cream.
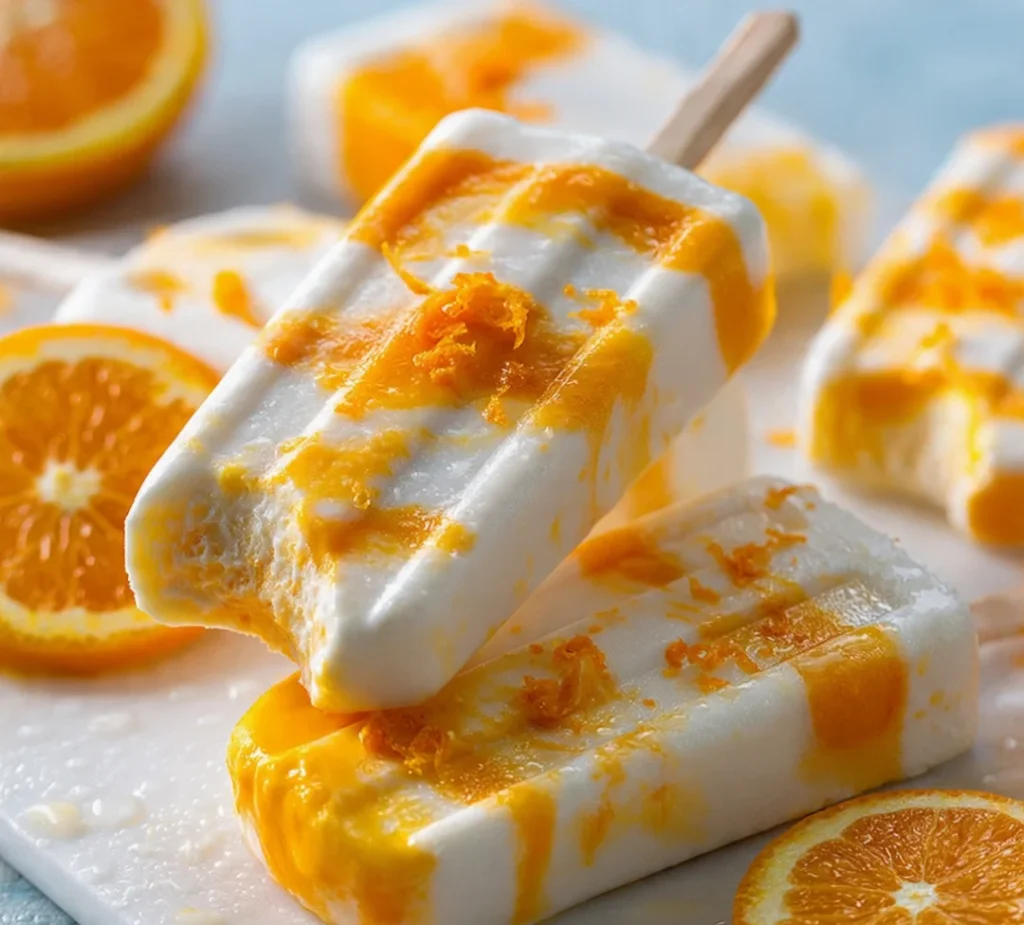
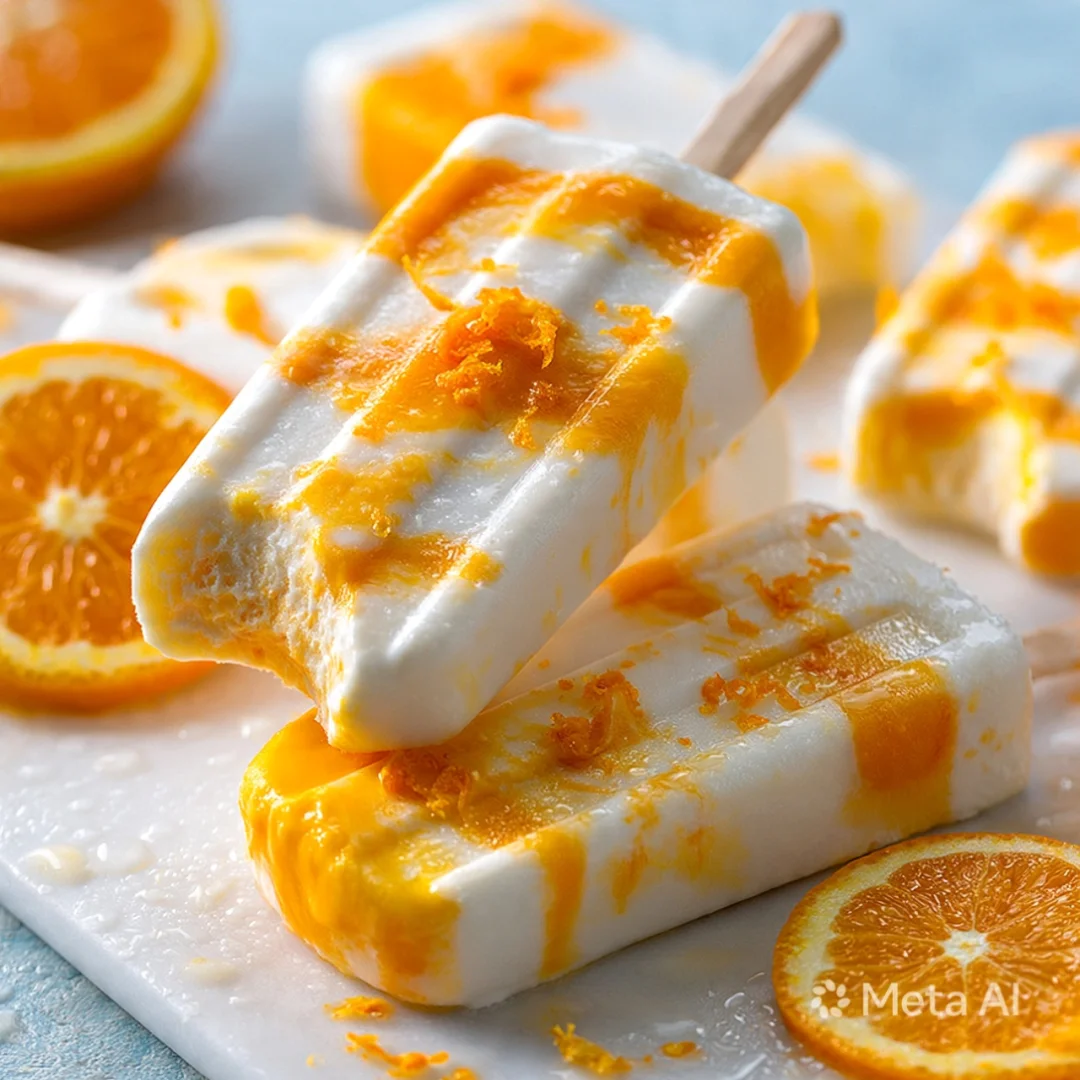
- Pro Technique: For a fun swirl effect, you can layer the orange mixture and the creamy mixture in the molds instead of combining them. This will create beautiful, marbled popsicles! Just pour a bit of orange, then a bit of cream, and repeat until the molds are full. This not only enhances aesthetics but also offers a delightful variety of flavor in each bite, making your creamsicles visually appealing and exciting to eat.
Conclusion
With just a few simple steps, you can create these delightful Easy Orange Creamsicles that are not only a hit with kids but also a refreshing escape for adults. From the zesty orange flavor to the creamy texture, each bite is pure bliss. This dish not only quenches your thirst but also brings back the essence of childhood summer days. So gather your ingredients and get ready to indulge in these homemade orange popsicles that are perfect for hot summer days. Enjoy this creamy citrus dessert and let the memories of summer flow with every delicious lick! Happy freezing! Make sure to share your experience and any favorite variations with us!
Easy Orange Creamsicles
A nostalgic dessert that evokes memories of sun-soaked afternoons and childhood joys.
Ingredients
- 2 cups fresh orange juice (about 6-8 oranges)
- 1/2 cup granulated sugar (or honey for a healthier option)
- 1 tablespoon lemon juice
- 1 cup heavy cream (or coconut cream for a dairy-free version)
- 1/2 teaspoon vanilla extract
Directions
Juice the fresh oranges until you have 2 cups of juice. Strain the juice if desired.
In a large bowl, combine the orange juice, sugar, and lemon juice. Whisk until the sugar is dissolved.
In another bowl, combine the heavy cream and vanilla extract. Whisk until blended and slightly thickened.
Gently fold the creamy mixture into the orange base until fully combined.
Pour the mixture into popsicle molds, leaving some space at the top.
Insert popsicle sticks into the molds, ensuring they are centered.
Freeze for at least 4-6 hours, or until completely frozen.
To release the popsicles, run warm water over the outside of the molds.
Nutrition Facts
Recipe Reviews
- ★★★★★
Excellent recipe!
Leave a Reply
Your email address will not be published. Required fields are marked *


Excellent recipe!