
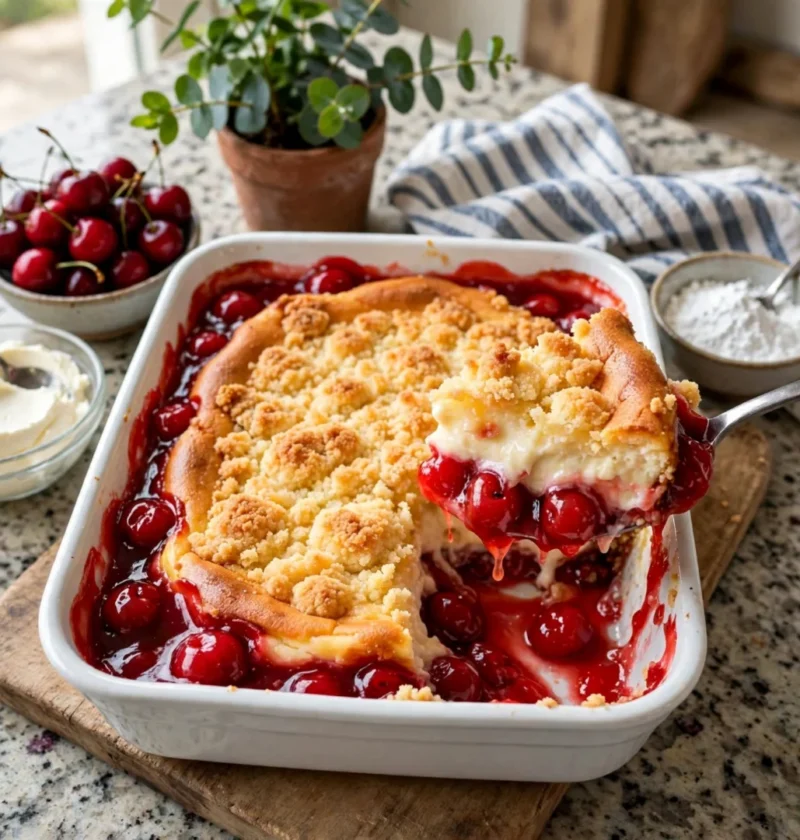
If you’ve ever found yourself yearning for a dessert that combines the classic flavors of cherry cheesecake with the ease of a dump cake, your search ends here. Imagine a warm slice of cake, rich with creamy cheesecake layers and a generous topping of cherry pie filling, all baked together in one pan. This Cherry Cheesecake Dump Cake is not only a feast for the eyes but also a treat for the taste buds, offering a delightful balance of sweetness and tartness that will have your family and friends coming back for seconds. With minimal effort and just a few simple ingredients, you can create a dessert that feels indulgent without spending hours in the kitchen.
This recipe comes from cherished family gatherings where desserts take center stage. I remember my grandmother whipping up her famous cheesecake for special occasions, and while it was delicious, it often required hours of preparation. This dump cake offers a simpler alternative, perfect for potlucks and summer barbecues, preserving that nostalgic flavor without the fuss. Whether you’re baking for a holiday, a picnic, or just a cozy night in, this cake is guaranteed to impress! You can learn more about this topic.
Why This Recipe Works
The beauty of the Cherry Cheesecake Dump Cake lies in its straightforward method. By combining cake mix with cream cheese and cherry pie filling, you achieve that luscious cheesecake flavor without the intricate steps of traditional baking. The dump cake technique, where you literally dump the ingredients into a pan and bake, ensures that even beginner bakers can achieve fantastic results. The cream cheese adds a creamy richness that complements the tart cherries, making each bite irresistible. Check out our related guide for more tips.
Ingredients
| Ingredient | Amount |
|---|---|
| Cherry pie filling | 1 can (21 oz) |
| Yellow cake mix | 1 box (15.25 oz) |
| Cream cheese, softened | 8 oz |
| Sour cream | 1 cup |
| Butter, melted | ½ cup (1 stick) |
| Eggs | 2 large |
| Vanilla extract | 1 tsp |
Note: You can use low-fat cream cheese or a dairy-free alternative if you prefer. Look for the cherry pie filling in the canned goods aisle, where you will find various flavors of fruit fillings.
Steps / Instructions
| Step | Instructions |
|---|---|
| 1 | Preheat your oven to 350°F (175°C). Prepare a 9×13 inch baking dish by greasing it lightly with cooking spray or butter. |
| 2 | In a medium bowl, beat the softened cream cheese until smooth. Mix in the sour cream, ½ cup of melted butter, eggs, and vanilla extract until well combined. |
| 3 | Pour the cherry pie filling evenly into the bottom of the prepared baking dish. |
| 4 | Spread the cream cheese mixture over the cherry filling, ensuring it covers the cherries as evenly as possible. |
| 5 | Sprinkle the dry cake mix evenly over the cream cheese layer. Do not stir; just let it sit on top. |
| 6 | Drizzle the remaining ½ cup of melted butter over the cake mix layer for extra moisture and flavor. |
| 7 | Bake in the preheated oven for 45-50 minutes, or until the top is golden brown and the edges are bubbling. A toothpick inserted into the center should come out clean. |
| 8 | Once done, remove from the oven and let it cool slightly before serving. Enjoy warm or at room temperature! |
Troubleshooting / Pro Tips
- For a more intense cherry flavor, add an extra can of cherry pie filling or fresh cherries on top before baking.
- If your cream cheese mixture appears lumpy, ensure your cream cheese is at room temperature before mixing.
- To ensure even baking, avoid covering the cake with foil during the first 30 minutes of baking, which can trap moisture and make the topping soggy.
- Let the cake cool for at least 15 minutes before serving to allow it to set up for easier slicing.
FAQ
Can I make this ahead of time?
Yes, you can prepare the cake a day in advance and store it covered in the refrigerator. Just reheat individual slices in the microwave before serving.
Can I freeze it, and how do I reheat it properly?
This cake freezes well! Allow it to cool completely, then wrap it tightly in plastic wrap and foil. Reheat slices in the microwave or let it thaw in the refrigerator overnight.
What can I serve with this?
This dessert pairs wonderfully with whipped cream or a scoop of vanilla ice cream. It also complements a cup of coffee or a refreshing iced tea.
Strong Call to Action
Now that you have this delicious Cherry Cheesecake Dump Cake recipe, it’s time to bring it to life in your kitchen! I’d love to hear how yours turns out—leave a comment or rate the recipe! If you snap a picture of your creation, share it with us on social media and tag us. Don’t forget to follow for more easy dessert recipes that the whole family will love! Happy baking!
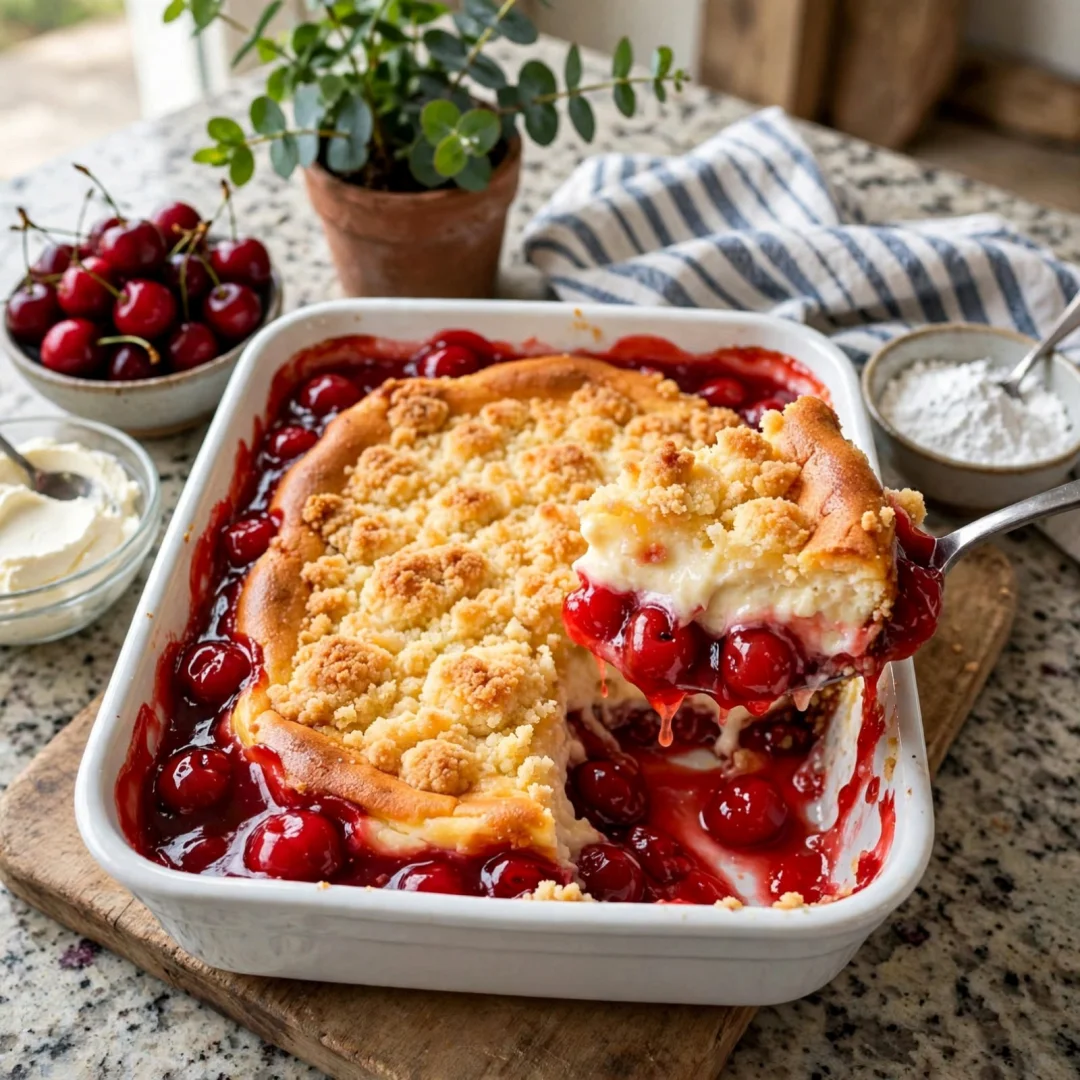
Cherry Cheesecake Dump Cake
A dessert that combines the classic flavors of cherry cheesecake with the ease of a dump cake, offering a delightful balance of sweetness and tartness.
Ingredients
- 1 can (21 oz) cherry pie filling
- 1 box (15.25 oz) yellow cake mix
- 8 oz cream cheese, softened
- 1 cup sour cream
- ½ cup (1 stick) butter, melted
- 2 large eggs
- 1 tsp vanilla extract
Directions
Preheat your oven to 350°F (175°C). Prepare a 9x13 inch baking dish by greasing it lightly with cooking spray or butter.
In a medium bowl, beat the softened cream cheese until smooth. Mix in the sour cream, ½ cup of melted butter, eggs, and vanilla extract until well combined.
Pour the cherry pie filling evenly into the bottom of the prepared baking dish.
Spread the cream cheese mixture over the cherry filling, ensuring it covers the cherries as evenly as possible.
Sprinkle the dry cake mix evenly over the cream cheese layer. Do not stir; just let it sit on top.
Drizzle the remaining ½ cup of melted butter over the cake mix layer for extra moisture and flavor.
Bake in the preheated oven for 45-50 minutes, or until the top is golden brown and the edges are bubbling. A toothpick inserted into the center should come out clean.
Once done, remove from the oven and let it cool slightly before serving. Enjoy warm or at room temperature!
Recipe Reviews
- ★★★★★
Excellent recipe!
Leave a Reply
Your email address will not be published. Required fields are marked *

Excellent recipe!