
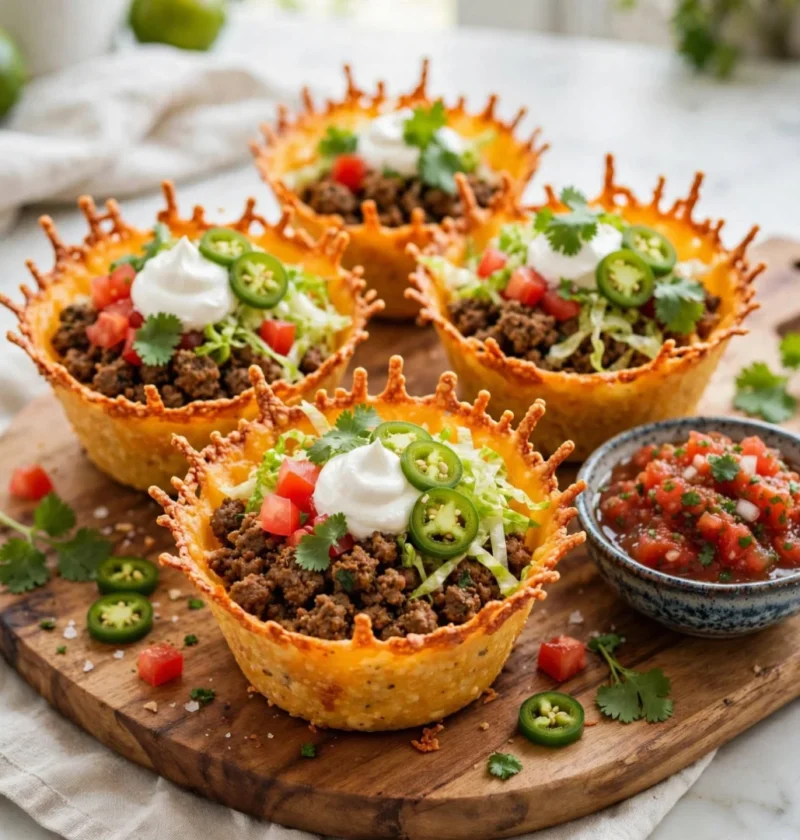
If you’ve ever found yourself craving tacos, but want something a little different from the standard soft or crunchy shells, Cheese Shell Taco Cups are the perfect solution. Imagine biting into a savory, cheesy cup filled with your favorite taco fillings, each bite bursting with flavor. This recipe not only satisfies that cheesy craving but also offers a fun, low-carb alternative to traditional taco shells, making it ideal for taco night meals or as a delightful addition to any party appetizer spread.
Growing up, taco night was a cherished family tradition. My mom would set out an array of toppings, and we would pile our plates high with the fixings. It was always an adventure to see who could create the most outrageous taco. When I discovered the idea of transforming cheese into taco cups, it felt like a fun twist on that beloved tradition. These Cheese Shell Taco Cups have become a staple in my home, delighting both family and friends, and I’m excited to share this recipe with you! You can learn more about this topic.
Why This Recipe Works
The beauty of Cheese Shell Taco Cups lies in their simplicity and versatility. By using cheese as the shell, you create a gluten-free option that’s naturally low in carbohydrates, making it perfect for those following a keto diet. The cheese crisps up beautifully in the oven, forming a sturdy yet delicate cup that holds your favorite fillings. This method not only enhances the flavor but also adds an irresistible crunch that complements the savory fillings inside. Check out our related guide for more tips.
Ingredients
| Ingredient | Amount |
| Shredded cheese (cheddar, mozzarella, or a mix) | 2 cups |
| Ground beef or turkey (or plant-based alternative) | 1 pound |
| Taco seasoning | 2 tablespoons |
| Olive oil | 1 tablespoon |
| Chopped lettuce | 1 cup |
| Diced tomatoes | 1 cup |
| Shredded cheese (for topping) | 1 cup |
| Guacamole or sour cream | For serving |
| Optional toppings (sliced jalapeños, olives, etc.) | As desired |
Note: For a dairy-free version, you can use vegan cheese. If you prefer a vegetarian option, substitute the meat with lentils or black beans for a hearty filling.
Steps / Instructions
| Step | Instructions |
| 1 | Preheat your oven to 375°F (190°C). This will ensure the cheese melts properly and crisps up in the oven. |
| 2 | In a large skillet, heat the olive oil over medium heat. Add the ground meat and cook until browned, about 7-10 minutes. Drain any excess fat. |
| 3 | Stir in the taco seasoning and a splash of water. Cook for an additional 2-3 minutes until well combined and heated through. |
| 4 | On a baking sheet lined with parchment paper, form small mounds of shredded cheese (about 1/4 cup each) into circles. Make sure to leave space between each mound since they will spread while baking. |
| 5 | Bake in the preheated oven for 8-10 minutes, or until the edges are golden brown and the cheese is bubbling. |
| 6 | Remove the cheese from the oven and let it cool for a minute. While the cheese is still warm, carefully shape each cheese round into a cup using the back of a muffin tin or by gently pushing them into the shape you want. |
| 7 | Once the cheese cups have cooled and hardened, fill each cup with the seasoned meat mixture. Top with lettuce, diced tomatoes, and additional cheese. |
| 8 | Serve immediately with guacamole or sour cream on the side and enjoy your gluten-free, low-carb taco cups! |
Troubleshooting / Pro Tips
- If your cheese cups don’t hold their shape, ensure they are baked long enough until golden brown. Experiment with oven temperatures as they can vary.
- For extra flavor, consider mixing different types of cheese, such as pepper jack or gouda, into your cheese cups.
- For a more substantial meal, serve these cheese taco cups with a side of Mexican rice or a fresh salad.
- Be careful when shaping the cheese cups; they can be hot! Use a spatula to help ease them into shape if needed.
FAQ
Can I make these ahead of time?
Yes, you can prepare the cheese cups in advance and store them in an airtight container in the fridge. Reheat them before serving.
Can I freeze Cheese Shell Taco Cups?
Yes, you can freeze the cooked cheese cups. To reheat, simply place them in the oven until warmed through.
What are some common ingredient substitutions?
For a dairy-free option, use plant-based cheese. You can also substitute ground meat with beans or lentils for a vegetarian version.
Why did my cheese cups turn out mushy?
Make sure to bake them until they are golden brown. If they are undercooked, they won’t hold their shape.
What toppings work best with these taco cups?
Classic toppings like lettuce, tomato, onions, jalapeños, and sour cream work perfectly. Get creative with your favorite taco toppings!
These Cheese Shell Taco Cups are not just a meal but an experience. I invite you to try making them for your next taco night and witness the delight on your family’s faces. If you enjoyed the recipe, please leave a comment and let me know how it turned out! Don’t forget to share a photo of your creations on social media and tag us. Happy cooking!
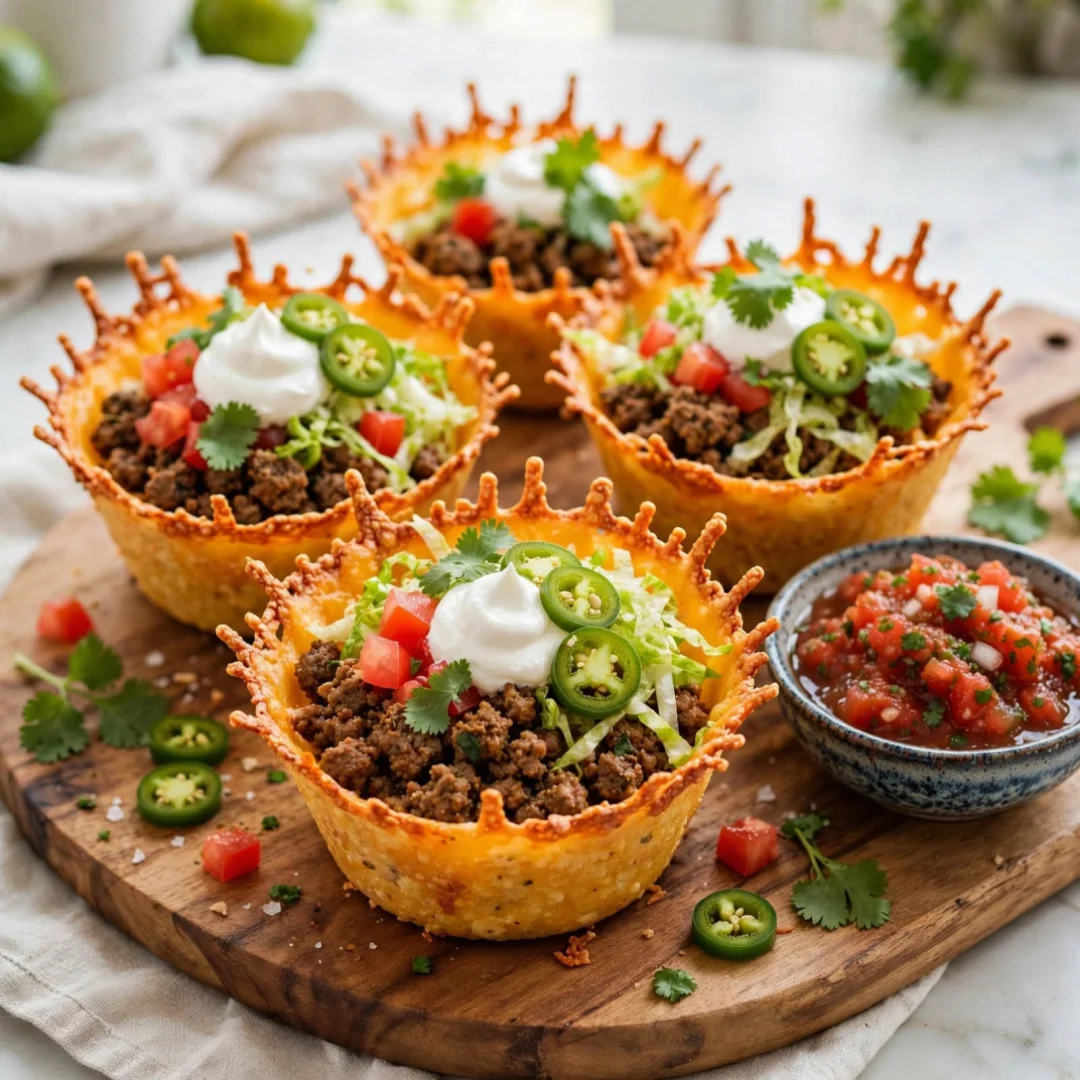
Cheese Shell Taco Cups
A fun, low-carb alternative to traditional taco shells, made with cheese and filled with your favorite taco fillings.
Ingredients
- 2 cups shredded cheese (cheddar, mozzarella, or a mix)
- 1 pound ground beef or turkey (or plant-based alternative)
- 2 tablespoons taco seasoning
- 1 tablespoon olive oil
- 1 cup chopped lettuce
- 1 cup diced tomatoes
- 1 cup shredded cheese (for topping)
- Guacamole or sour cream (for serving)
- Optional toppings (sliced jalapeños, olives, etc.)
Directions
Preheat your oven to 375°F (190°C). This will ensure the cheese melts properly and crisps up in the oven.
In a large skillet, heat the olive oil over medium heat. Add the ground meat and cook until browned, about 7-10 minutes. Drain any excess fat.
Stir in the taco seasoning and a splash of water. Cook for an additional 2-3 minutes until well combined and heated through.
On a baking sheet lined with parchment paper, form small mounds of shredded cheese (about 1/4 cup each) into circles. Make sure to leave space between each mound since they will spread while baking.
Bake in the preheated oven for 8-10 minutes, or until the edges are golden brown and the cheese is bubbling.
Remove the cheese from the oven and let it cool for a minute. While the cheese is still warm, carefully shape each cheese round into a cup using the back of a muffin tin or by gently pushing them into the shape you want.
Once the cheese cups have cooled and hardened, fill each cup with the seasoned meat mixture. Top with lettuce, diced tomatoes, and additional cheese.
Serve immediately with guacamole or sour cream on the side and enjoy your gluten-free, low-carb taco cups!
Nutrition Facts
Recipe Reviews
- ★★★★★
Excellent recipe!
Leave a Reply
Your email address will not be published. Required fields are marked *


Excellent recipe!